
Are you running on fumes all week long, struggling to keep up with the demands of life and grabbing take out far too often? Is your body yearning for more nutritious meals without spending your precious time slaving away in the kitchen each night? Enter batch cooking for beginners to save the day!
Undoubtedly you’ve heard the term “batch cooking” before, but it may not mean quite what you think it does. Often times, people associate batch cooking with making large portions of one complete meal that can be divided up and portioned out for the week, or frozen for future use.
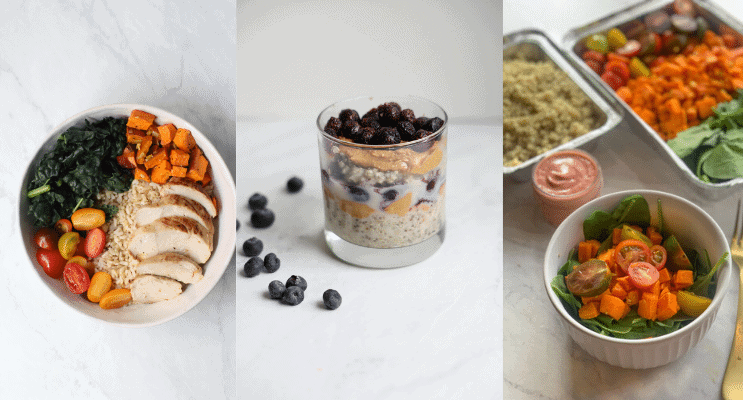
For me, batch cooking means to cook many different ingredients in large batches that can then be mixed and matched to create a variety of different meals. By keeping the ingredients separate until the time you’re ready to assemble your meals, you can keep them fresher and allow for more versatility
What Are the Benefits to Batch Cooking?
The benefits to batch cooking are:
- Increased freshness
- More versatility with your ingredients
- Ability to mix and match different meals
- Ability to easily tweak your meals to the different taste preferences in your family
- Less stress at meal time (no more dreaded “What to make for dinner” dilemmas)
- Save money by taking advantage of bulk purchasing and also because you’re less likely to throw out food you’ve either grown tired of eating or doesn't taste fresh any more
- Save money by being prepared with each meal and thus less likely to order take out
- Less dishes to wash when lunch or dinner rolls around because you’ve already prepped your ingredients
- Avoid getting bored of eating the same meals day in and out
- You can control your ingredients and avoid store bought options that are chock full of preservatives and artificial dyes (ie. Eat real food!)
The best gift of all that batch cooking has given me is more time with my family. You can’t put a value on that. By strategically planning ahead and spending less time in the kitchen during the week, I have more time to decompress and be truly *present* with my children at the end of an already long and taxing work day.
Batch cooking has changed my life and I hope you’re willing to give it a try as well! Stick with me and I’ll show you the way.

What's the Difference Between Meal Prep and Batch Cooking?
Meal prep has become very mainstream in the last few years. Often times, meal prep is used as a way to stick to a specific diet, control calories or macronutrients, and drastically cut down on weekday cooking.
In a nutshell, meal prepping generally means preparing a meal to completion and storing it in individual containers. When meal time rolls around, all you have to do is heat it up and enjoy.
Batch cooking draws on the same approach that restaurants use, which is how I started to incorporate it into my daily life and personal chef business. They prep their components ahead of time and then finish it off when a customer orders it. There's something called "The rule of 5" in restaurant kitchens which means that every ingredient needs to be used in 5 dishes in order to justify the prep time that goes into it.
With batch cooking, I try to make sure most ingredients are used 2-3 times in a meal plan.
The benefits to meal prepping:
- Very little stress at meal time, controlled caloric or macro intake, easy to prep
The downside to meal prepping:
- People get really bored and burned out when it comes to eating the same meal day in and day out for a week. Because of this, they’re more likely to toss it in the trash and order a pizza instead. Also, most meals don’t taste very fresh and appetizing by the time Thursday or Friday roll around.
With batch cooking, you can wait until meal time rolls around to actually assemble your dish. I like to add fresh touches at the last minute in order to boost flavors and add a vibrant touch. For example, a sprinkle of fresh chopped basil or a squeeze of lemon juice can go a long way with bringing a dish to life. If you did that ahead of time, your fresh basil would be brown and gross within a day.
The downside to batch cooking:
- You do still have to do some limited cooking and dishes at meal time
It requires a little more creativity and planning to create a variety of meals from the same ingredients throughout the week where as meal prep takes a lot of the stress out of meal time. In addition, not all meals work well prepared ahead of time.
Do both of these approaches sound good to you? Awesome! You can totally make both meal prepping and batch cooking work for your lifestyle. Try meal prepping the same meal for early in the week. Eat it on Monday and Tuesday. Then use some batch cooked ingredients to create three fresh and exciting meals for Wednesday-Friday.
Or meal prep something that you can freeze ahead of time and thaw for those later in the week meals while you mix and match with ultra fresh ingredients for the beginning of the week. Think about what works best with your busy scheduling juggling work needs and/or shuffling your kids around to their activities.
Different Approaches to Batch Cooking & How to Plan
Before you get overwhelmed with the idea of batch cooking, let me share with you my tips on brainstorming ideas and tackling the week ahead
1. Start with what’s seasonal: Integrating seasonal produce into your meals means you’re taking advantage of those ingredients when they are in peak freshness and packed with vitamins and minerals. You’re also decreasing your carbon footprint by using ingredients that are locally available as opposed to those that are being transported from other states or even continents!
I try to pick one or two seasonal ingredients and then build a menu around it. In order to keep things interesting, you can use the ingredient in a variety of different ways. For instance, if beets are your ingredient, you could take this approach:
- Steam or roast plain beets
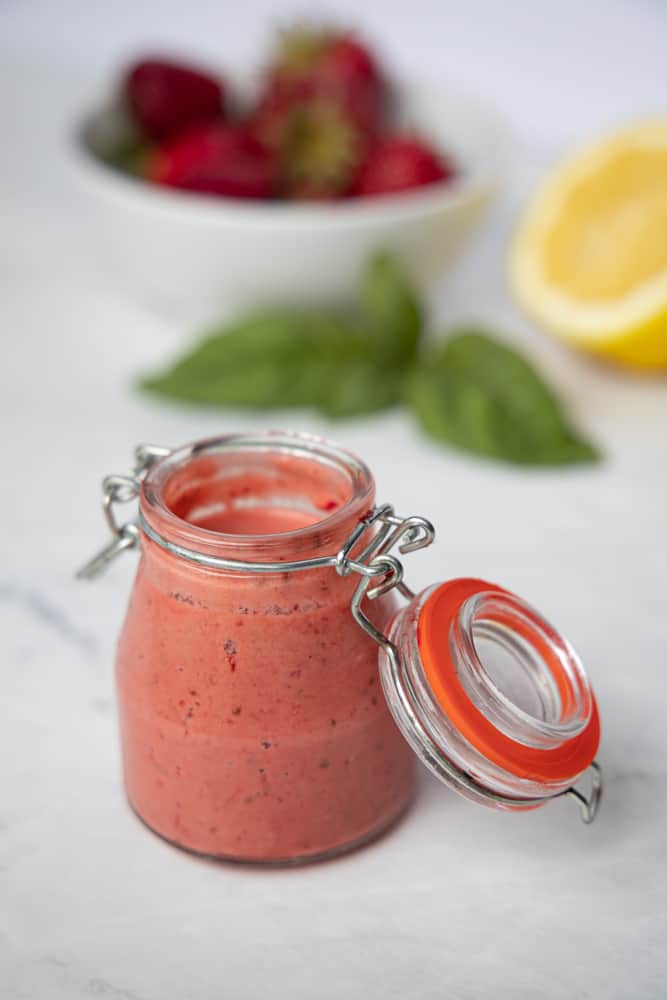
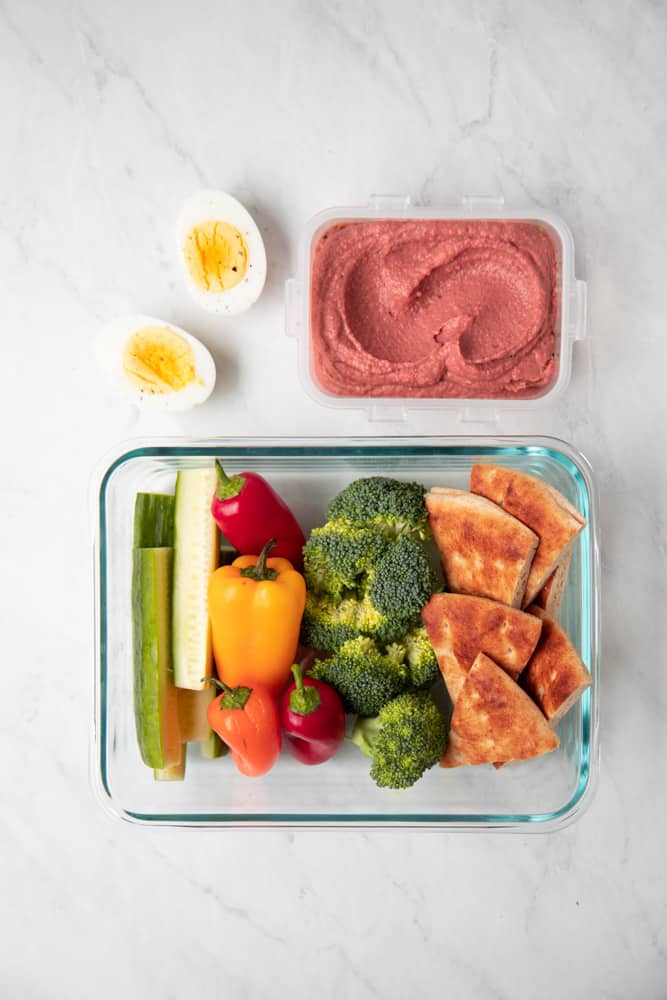
- Blend some into a beet hummus to make a creamy spread for wraps
- Freeze some to toss into raspberry beet smoothies
- Saute some beets with sweet potatoes and potatoes for a satisfying breakfast hash
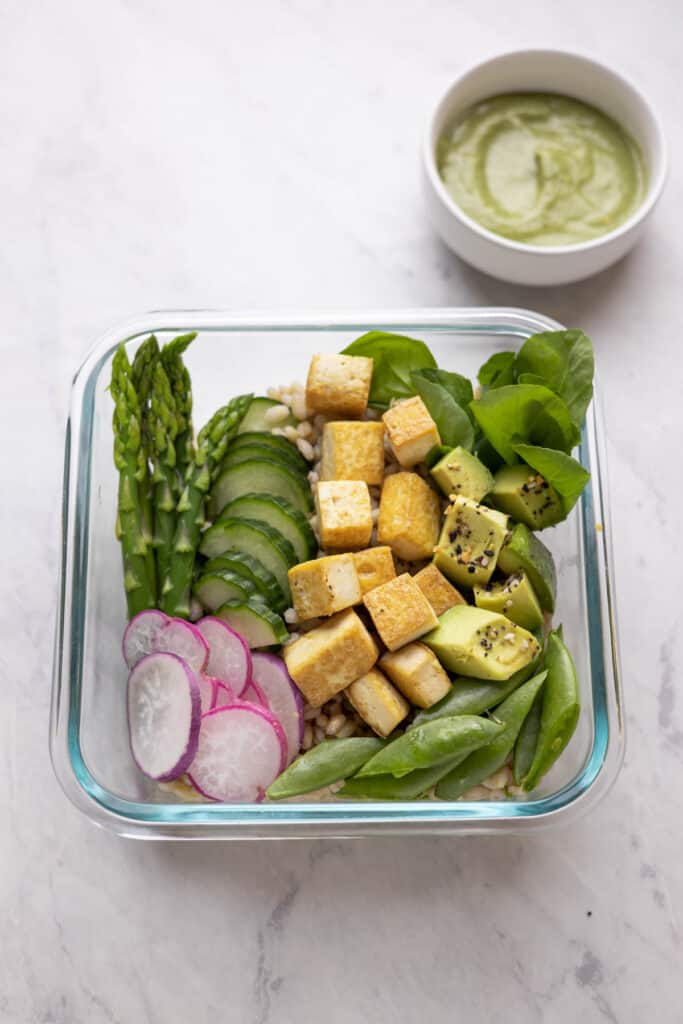
- Add to salads or buddha bowls
I would recommend only picking three of these items for the week so you don’t go into beet overload mode, but you get the idea!

2. Look to Pinterest and Social Media for ideas. Facebook groups are a great source for recipes, especially if you prescribe to a specific diet or lifestyle or have food allergies. Pinterest is great because you can make different boards for all the genres of food you like to eat and save recipes that look delicious. When I make something on Pinterest that's a real winner, I then reserve it to my "Keeper" recipe board so I can easily find it in the future.
- When you find a recipe that you like, think to yourself “How could I make the bulk of these components ahead of time” so that you can give yourself a leg up on the week. Even just prepping chopped onions, garlic, and over veggies so that you don’t have to do all your mis en place right before cooking is still a huge help. Then ask yourself, “What’s an ingredient in this meal that I could use in something else”. Maybe you’re making a batch of wild rice to use in a chicken and wild rice soup that could do double duty in a salad or some wild rice vegetarian burger patties.
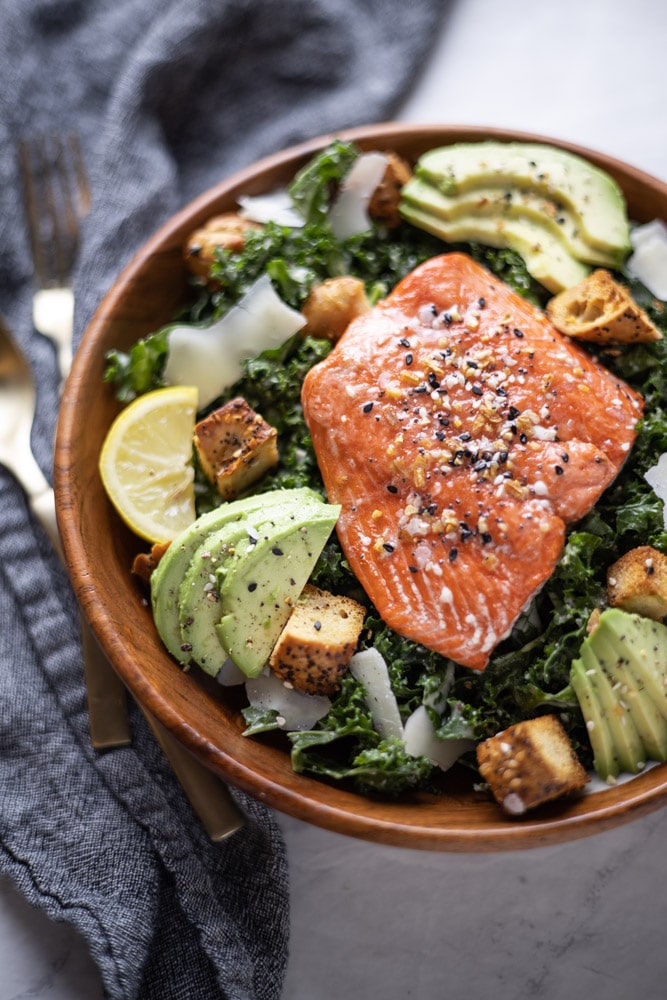
- Strategically plan your week-The whole point of batch cooking as opposed to meal prepping is to keep your ingredients as fresh as possible. Some items need to be eaten as soon as possible while others can last longer. If you’d like to incorporate salmon or another fish into your menu, eat that on your first night and make sure any leftovers are eaten the very next day. Fattier, slow cooked meats such as pulled pork or shredded chicken will last longer so you can save those for later in the week.
The alternative is that you can totally still have fish later in the week, you just won’t want to cook it until they day you eat it, which is totally fine! Remember, the goal here isn’t to completely eliminate any weekday cooking. The goal is to *minimize* your weekday cooking and cleanup to make it less stressful and give you a jump start.
Batch Cooking Equipment
When it comes to batch cooking, you don’t need to go out and buy a bunch of special equipment. But, you will find that certain things will make your life easier.
My most used kitchen items when I’m batch cooking are:
- my fave ¼ size sheet pans
- Instant pot or pressure cooker
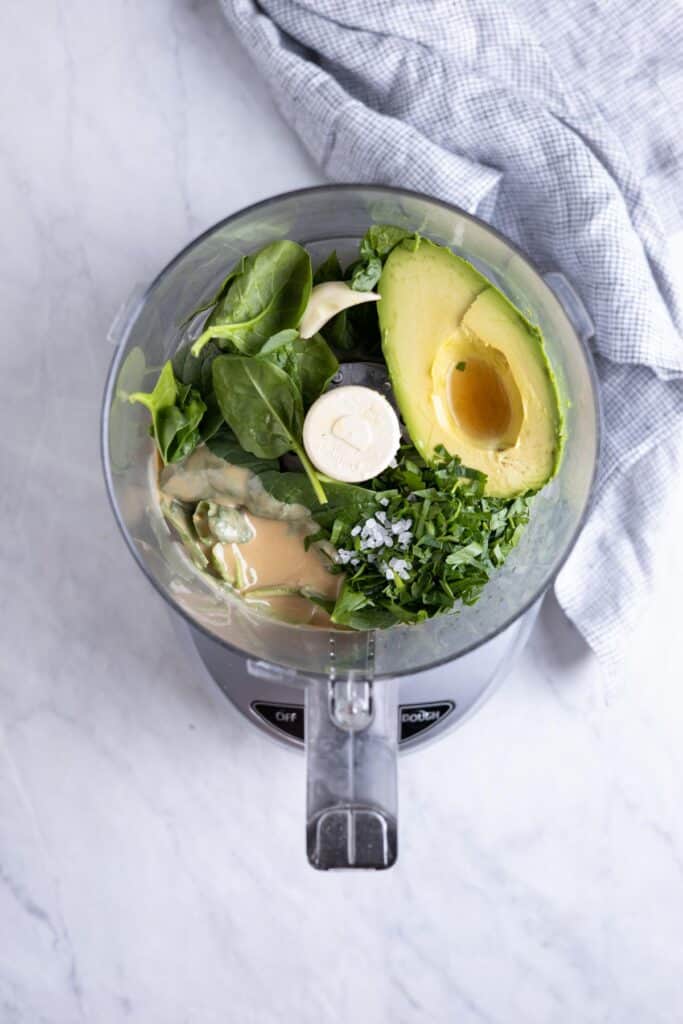
- food processor or blender (preferably both if you have them)
- mixing bowls
- sauce pans and large saute pans
- cutting boards
Best Batch Cooking and Meal Prep Storage Containers
Good storage containers are key to storing your ingredients for maximum freshness, but doesn’t mean you have to go out and break the bank to stock up. Some of my favorites are takeout style containers bought in bulk at restaurant supply stores! It’s worth spending a little bit on some long lasting containers versus reaching for environmentally unfriendly single use plastic bags, aluminum foil or plastic wrap.
The key things to keep in mind when you’re shopping for containers is that they need to be:
- air tight and leak proof
- environmentally friendly
- microwave safe
- dishwasher safe
- freezer friendly
- preferably stackable
- bonus points for being oven safe as well!
Pros and Cons of Plastic Containers
Pros: inexpensive, come in many shapes and sizes, lightweight, readily available (you probably already have some!), microwave and dishwasher safe
Cons: may contain harmful BPAs that leach into your food when heated in that container, break easily, not environmentally friendly
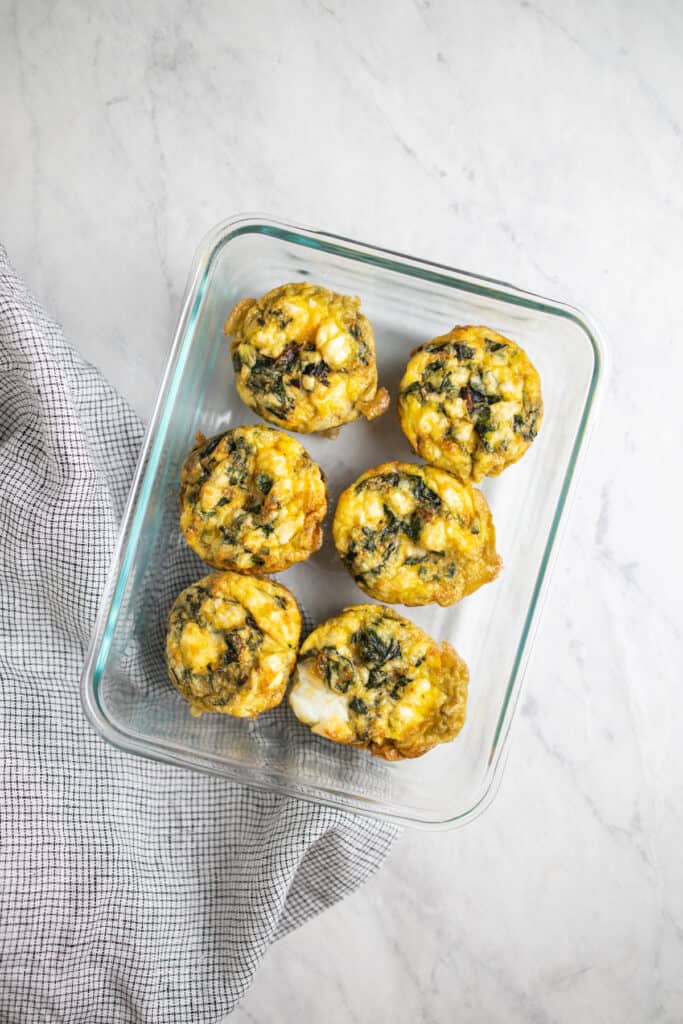
Pros and Cons of Glass Containers
Pros: heavy duty, oven/freezer/microwave/dishwasher safe, see through for good visibility when browsing your fridge, stackable, air tight lids, eco friendly
Cons: more expensive, breakable, heavy,
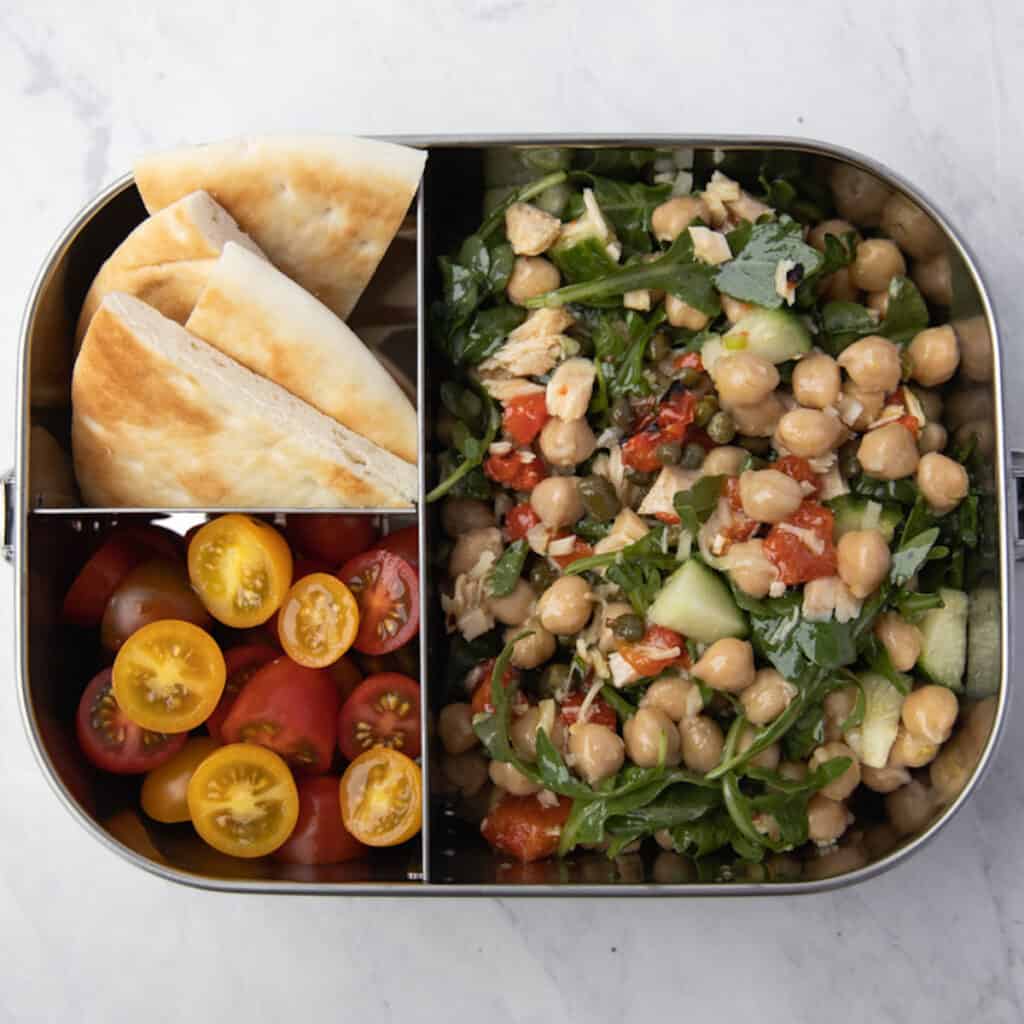
Pros and Cons of Steel Containers
Pros: light weight, durable, stackable, air tight, more environmentally friendly than plastic, and long lasting
Cons: expensive, not microwave safe, not see through
In addition to plastic, glass and metal meal prep containers, I find myself also reaching for these alternatives:
- repurposed glass baby food jars
- restaurant style takeout containers (particularly the pint and quart sized soup containers)
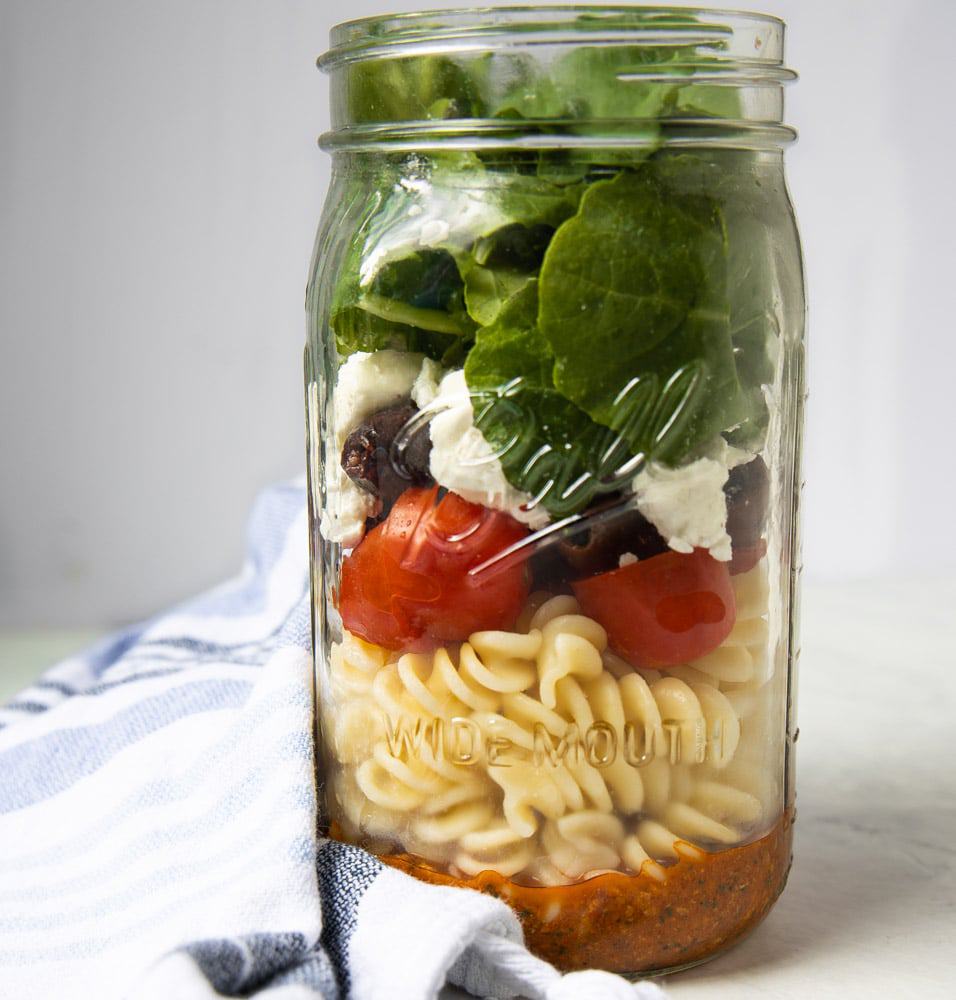
- mason jars and weck jars
- reusable silicone bags
Which Ingredients Work Well for Batch Cooking Ahead?
Unfortunatley, not all ingredients can be prepped ahead of time and maintain their integrity and freshness, but there are a TON. For those that don’t hold up to prepping in advance, I just wait and make those the night I will be eating them. I try to think about other ways I can make certain components of the meal ahead of time so all I have to do is worry about that one item (a filet of fish for example, or beautiful scallops).
If you use these ideas as a starting point, you’ll be in good shape! I rotate each week so that I don’t get bored eating quinoa and roasted sweet potatoes week in and week out.
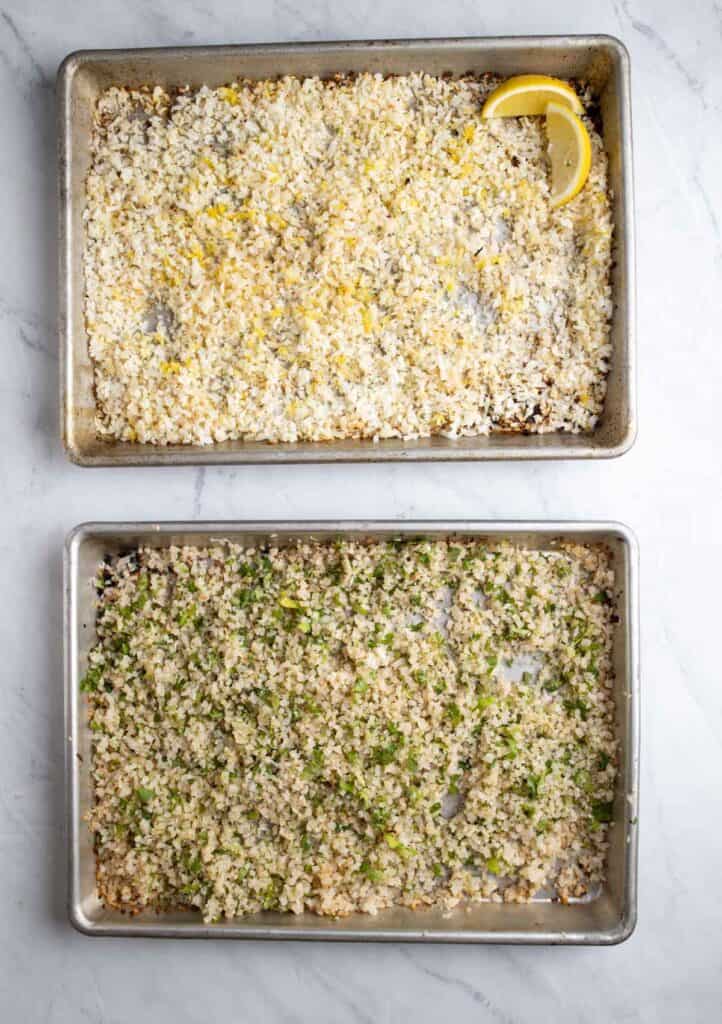
Grains: quinoa, brown and white rice, farro, barley, couscous, buckwheat (or cauliflower rice as a grain alternative)
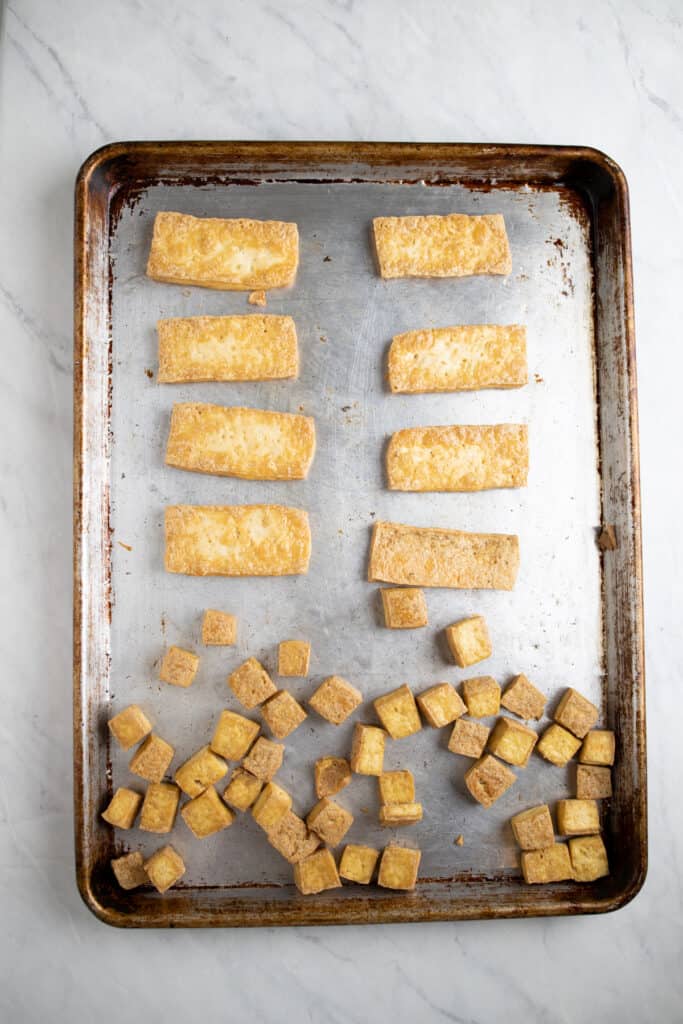
Proteins: shredded meat (chicken, pork beef), ground meat (chicken, turkey, pork or beef), chicken breast or chicken thighs, steak, turkey, and vegetarian alternatives such as tofu and tempeh
Sauces: vinaigrette, tahini dressing, yogurt based sauce, pesto, tomato sauce, romesco sauce, chimichurri, chickpea based sauce, caesar, honey mustard, hummus, ranch
Roasted Veggies: potato and sweet potato, squash, brussel sprouts, broccoli, beets, asparagus, carrots, parsnips, peppers, onion, cauliflower, green beans, eggplant

Batch Cooking for Beginners-Key Takeaways
- Anything you can prep for the week is better than nothing. You don't have to make a complete meal. Anything you can chop, portion, or marinate will save you time. Don't have enough time to knock out a fancy quinoa salad for lunches? Try slicing up carrots and cucumber to portion into containers with pita bread and creamy lemon beet hummus for an easy grab-and-go snack that will save you when hunger strikes.
2. Start with one meal. It can be really intimidating to think about prepping every meal for your week in advance. Instead, start out small to get into the groove. Pick the meal you struggle with the most and focus on that first.
Is it a challenge to get breakfast in your system every morning? Try prepping some overnight oats or freezer breakfast burritos you can easily grab on your way out the door. Is lunch your weakness? How about prepping pita pockets with chicken salad or mason jar pasta salads that keep beautifully all week.
Repeat after me: "No more sad desk lunches!"
Struggle with getting dinner on the table for your family each night? If you prep some freezer meals once a month that you can dump into the crockpot on your way out the door in the morning, your family will think you're a superhero come supper time.
3. Prep smarter not harder. It's so much more efficient to make a double batch of one thing than to cook two entirely different things. My weekly plans focus on ways to save you time (and money, bonus!) by cooking one ingredient that can do double duty for you throughout the week.
Think shredded chicken you can use in enchiladas AND in smokey bbq pulled chicken sandwiches. Or a big batch of instant pot quinoa that you can have on hand for southwestern stuffed peppers AND a fresh strawberry quinoa salad. You get my drift.
Keep it fresh. I have a few tricks up my sleeve on how to keep the food you've prepped in advance tasting like it's super fresh. Fresh herbs, a squeeze of bright lemon juice, or a pop of peppery arugula work wonders to bring your pre-cooked chicken breast back to life. Learning the best way to store and reheat your ingredients so that they don't dry out which is a huge game changer. Stick with me and I'll teach you what you need to know!
I get by with a little help from my friends. You don't have to make every little thing from scratch. The sky is the limit when it comes to short cuts you can take with premade ingredients. If you don't enjoy chopping, take advantage of the pre cut veggies like diced carrots and onions that you can find at the grocery store. Did you make homemade falafel? Bravo! Congratulate yourself by buying a container of tzaziki so you can pull together weeknight gyros in a pinch. The point being, there's absolutely no shame in using some good quality store bought ingredients to help give you a leg up on your meal prep.
I hope these tips help you as you start, or restart, your meal prep journey! Baby steps are the key here. I challenge you to pick at least one thing to make ahead. My favorites are hard boiled eggs, brown rice, and pesto. From there, slowly build by adding another item to your weekly plan, like salad dressing or shredded chicken. I'm with you every step of the way so don't hesitate to reach out with questions! Happy meal prepping!
-Katie Clack
Leave a Reply
You must be logged in to post a comment.